Device Properties
With a Device selected, choose the Properties tab:
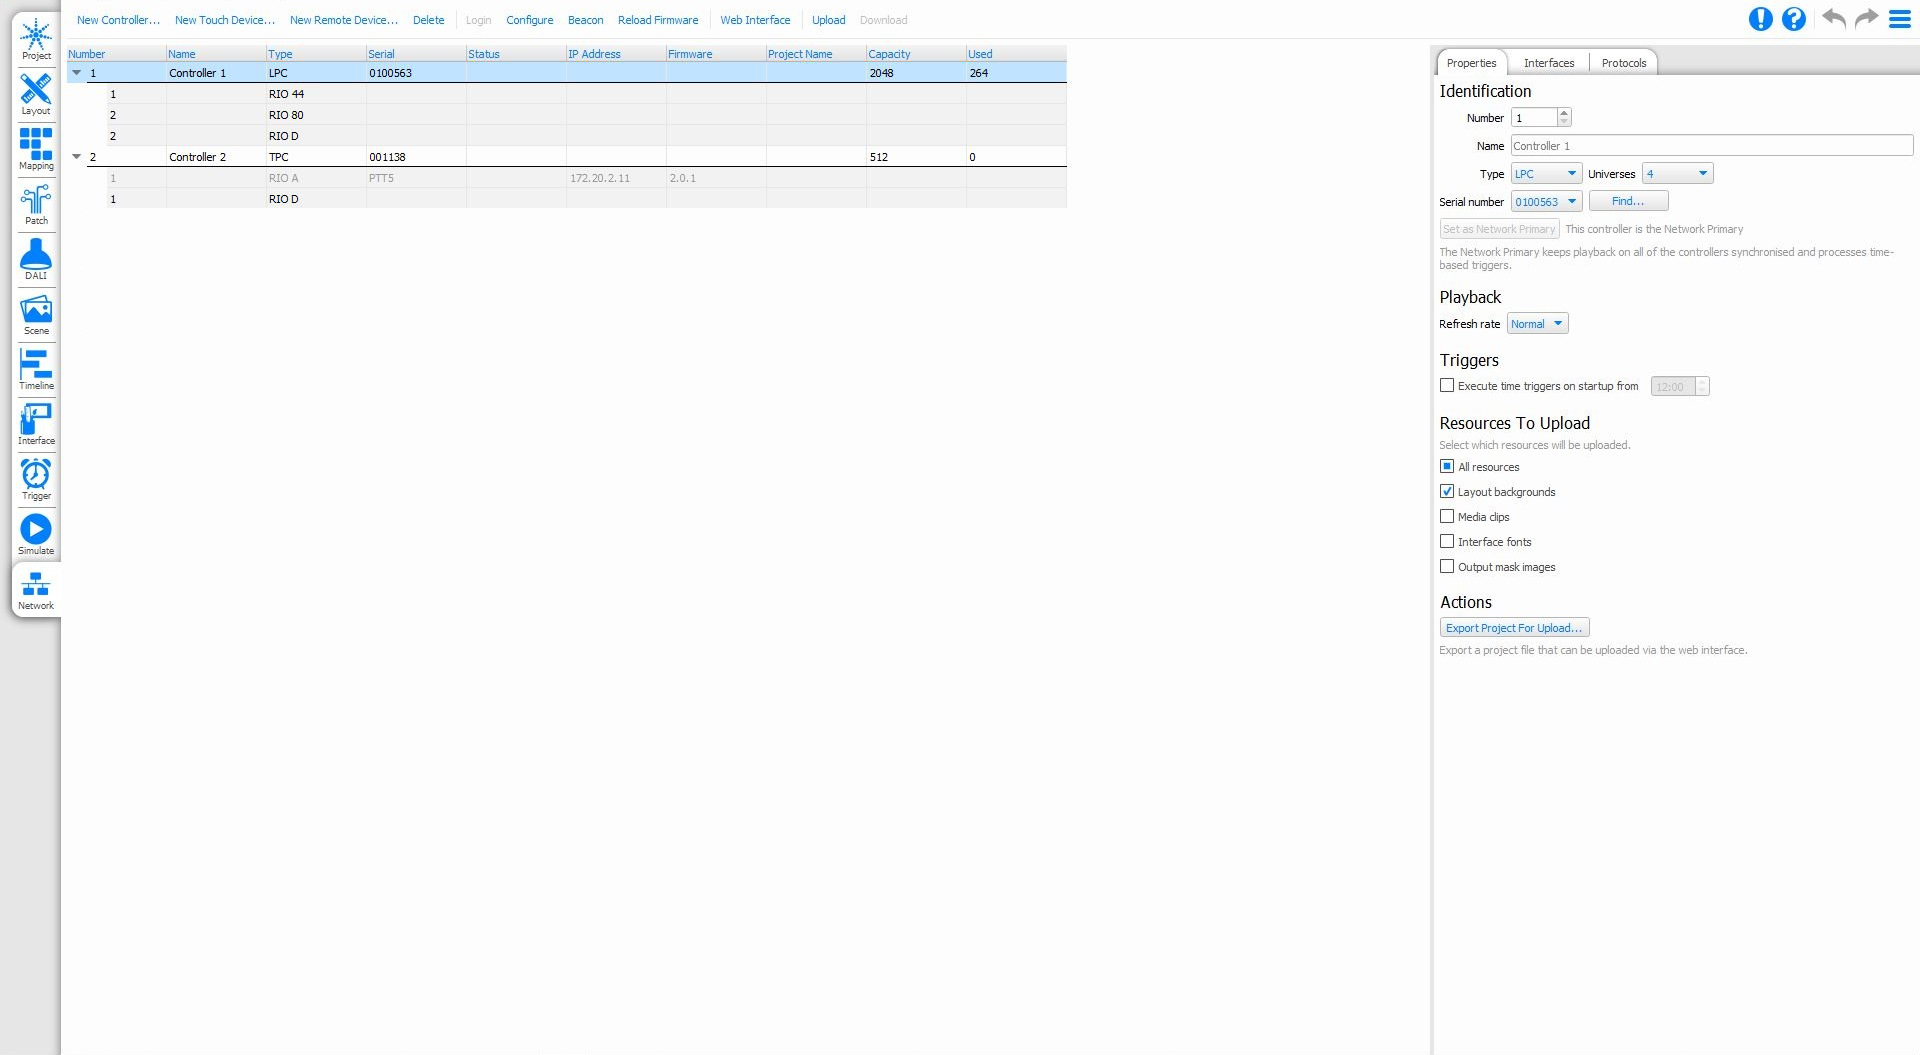
Identification
Use these fields to identify a project device with a name and type, then associate it with a real device and set the Network Primary, see Device Association.
Screen
Use these fields to manage the properties of a touch device and its display.
Interfaces for the TPC, TPS, TPS 5 and TPS 8 are created on the Interface tab, which is enabled when a relevant Touch Device is added to the project. The Interface dropdown shows all interfaces relevant to the selected device, e.g. a TPS 5 interface won't be shown if a TPC is selected, and vice versa. A new interface can be created by selecting the New... button, or the currently selected Interface can be edited by selecting Edit.
Set the backlight brightness for normal operation and for when the touch device has been inactive for a period of time. The inactivity time is also set here, along with the time before the screen turns off completely.
Set whether the backlight brightness should automatically adjust for changes in the ambient light level, and whether the screen should turn on if the proximity sensor detects someone walking up to it.
NOTE: Proximity detection is not available on TPS 5 or TPS 8.
Playback Refresh Rate
Select between Normal (33Hz: default, recommended), High (44Hz) or Low (20Hz: useful for older fixtures with DMX compatibility issues).
60Hz is also available, although is higher than the specification baud rate of DMX, so DMX output channels will be limited to 340 per universe. This will not affect eDMX output, although the nodes may suffer from the same limitation.
60Hz can be enabled in Project Features.
Triggers
If your project uses realtime or astronomical triggers then, when the Controller starts up, you may well want to assert the correct show state for the current time. You can set each Controller to do this automatically by checking the “Execute realtime triggers on startup” option.
When this option is selected the Controller will execute all the realtime and astronomical triggers that would have fired between the user-specified time and the current time. You should select a time of day when your project is inactive or at its least active. Running all triggers from that point ensures that your project is in the correct state.
Any startup trigger in your project will run first and then any pending realtime or astronomical triggers. The Controller will attempt to preserve the timing so that timelines will be in the correct place as if it had been running normally.
IMPORTANT: Changes made to a Controller's properties will only take effect after an upload.